
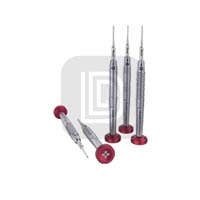
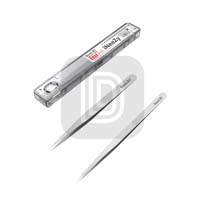
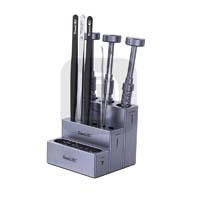


If your phone screen is broken, here are some tips for replacing your display. We will bring you iPhone X case as a reference. All you need is a repair kit and a new screen. The repair kit should include the following: tweezers, screwdriver, pry, suction cup, heating pad, programmer, spudger, battery adhesive, and waterproof adhesive.

True Tone Check and Disassembly Steps Before Screen Replacement
Before replacing the screen assembly, we need to check the True Tone display function and whether it is still working properly to ensure that the new screen is working properly.
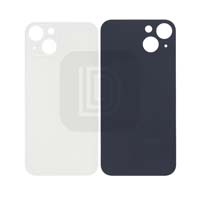
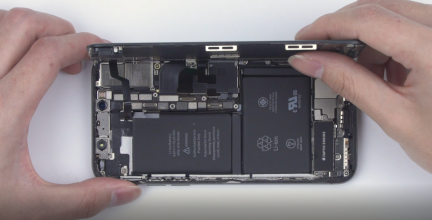
First, long press your phone to turn it off. You can then use a pentalobe screwdriver to unscrew the screws on the bottom of the phone. Note that the screws are set aside. Once the heating pad reaches 2-3°C, you can place the screen face down on the pad for about 70-80 minutes. And secure the suction cup to the bottom of the phone, gently lift the screen, and insert an opening pick underneath. Gradually move around the edges of the display, spreading the screen apart along the gaps. The display assembly is still connected to the iPhone via a cable, so don’t try to remove it completely. Again, please pay attention to the position of the cable to avoid damage. The angle should not be greater than 90 degrees to prevent breakage of the flexible cable. The process of removing the cover is complete.


Disconnecting and Replacing Display Assembly
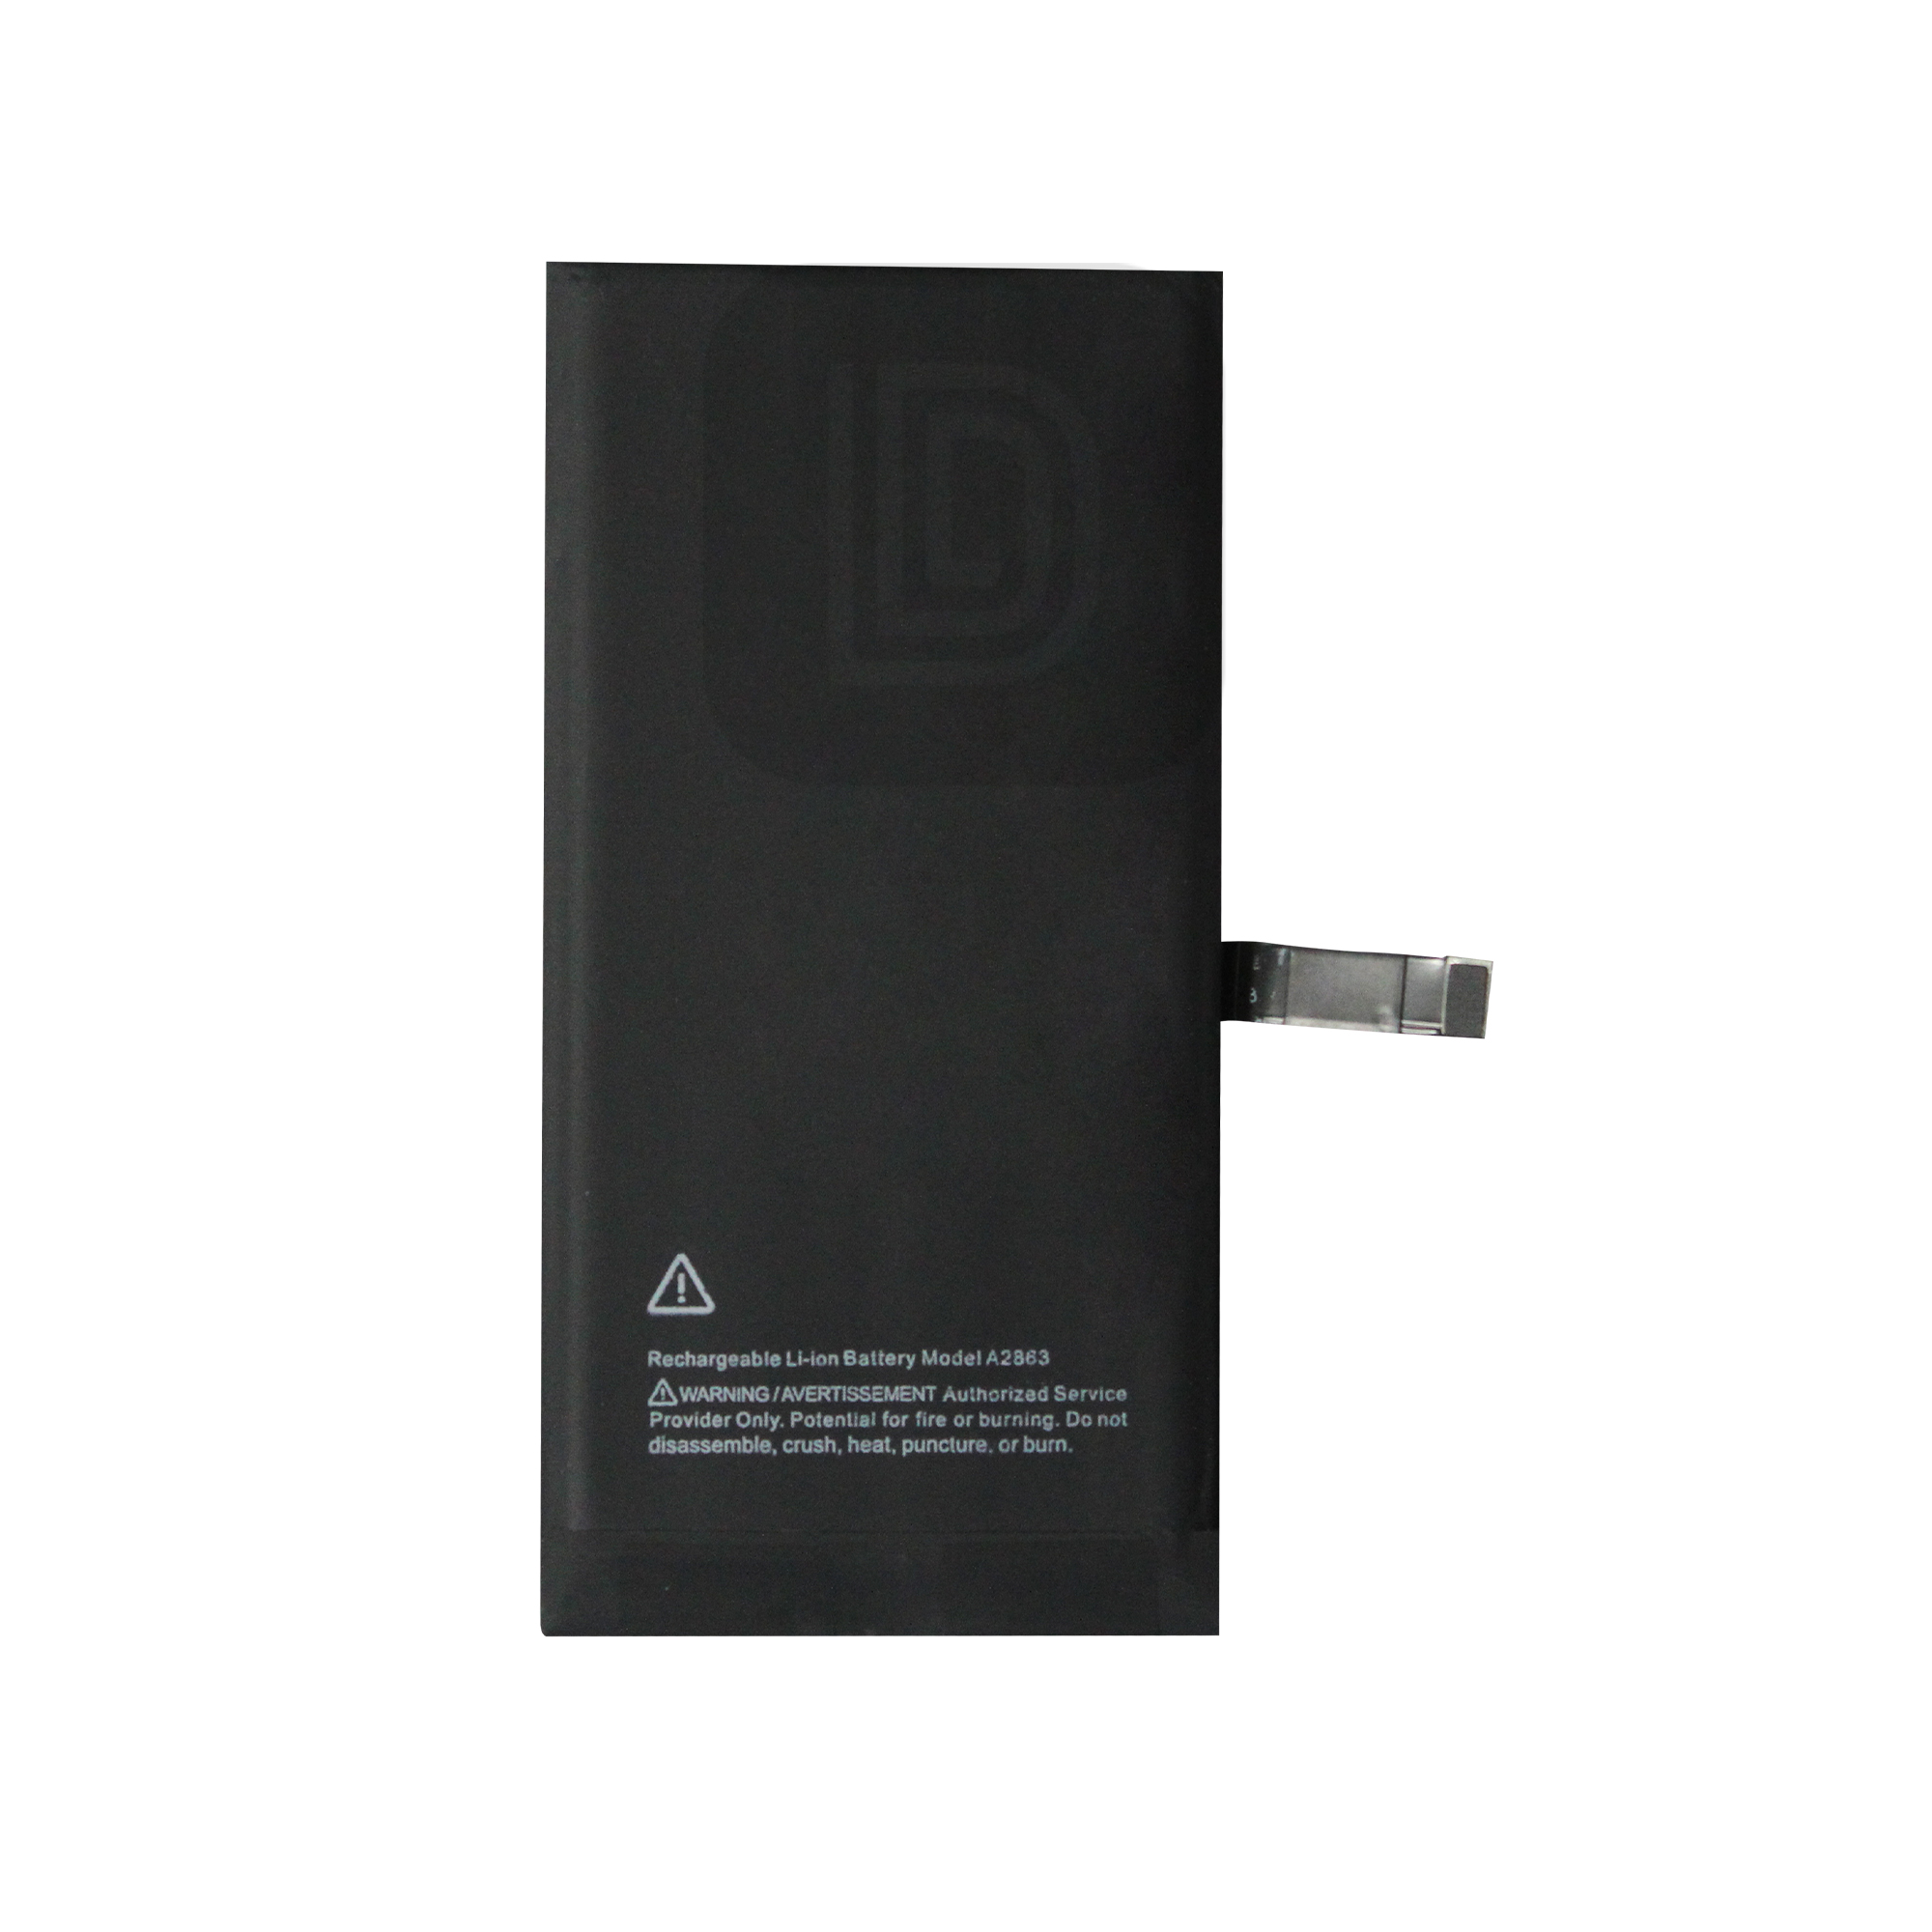
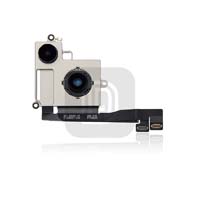
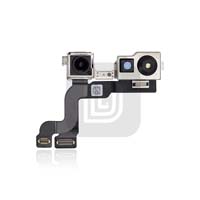
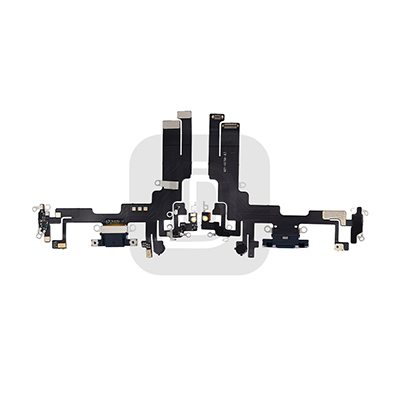
Next, use a three-wing screwdriver to unscrew the cable connector shield cover. You can use a spudger slightly to remove the battery and the connector between the screen and the motherboard. Now, continue to follow the instructions step by step. Remove the earpiece speaker flex cable and then remove the old display assembly.

Utilizing a Programmer for Seamless Screen Assembly Replacement
To keep True Tone functionality on the display since everything in your iPhone is paired to another screen, it’s recommended to take full advantage of a programmer. Secure the old touch connector to the corresponding connector on the programmer and start reading. Once everything is done, remove the old screen assembly, connect the new screen assembly to the programmer, and start writing.

Programmed and precise assembly steps
Please connect the new screen assembly to the programmer, start writing, and then place the old screen assembly on the heating pad. You can use a three-wing screwdriver to unscrew the earpiece cable and remove the earpiece. Remove the protective film from the new screen assembly and reassemble the earpiece cable on the new screen assembly. Finally, tighten the screws. Note the location of the ground chip. Finally, we come to the connection part. Please connect the monitor cable, touch cable, handset cable and battery accordingly.
If there are issues with the repair process or assembly, it’s a good idea to do some testing after replacing the new screen.


Comprehensive Screen Testing and Final Assembly Steps in Phone Repair
This is the same step as the beginning. Long press to turn on the phone and do some screen testing first. We need to do several tests: 3D touch test, original color test and light adjustment test. If your phone shows it, everything is fine. Then you can peel off the waterproof glue and let it stick to the body of the phone. Press lightly with tweezers to bond, peel off the film, reassemble the display cable, and touch the cable. and earpiece assembly, and connect the battery. Install the shield cover and tighten the screws. Remove the waterproofing membrane around the frame. Fasten the phone screen and tighten the screws at the bottom.
